Camera
Use the camera in your Android phone or USB camera. Check our product section to see available options.
Camera controller
Use our Android app or a Raspberry Pi as camera controller. Buy preinstalled Raspberry Pi from us or install by yourself
Monitor
Watch your shooting results on laptop or tablet. Click or touch the screen to mark bullet holes with virtual markers.
Camera options
Use your existing Android phone or use a USB camera connected to small (single-board) computer.
Android phone
Use our Android app as camera controller. The app will use built in camera and listen for requests to take photos of the target. Download
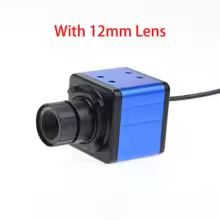
USB camera
Use an USB industrial or web camera and connect it to a portable single-board computer. We sell pre-installed Rasbberry Pi computers and matching industrial USB cameras.
Network options
If the distance to the target is 100 meter or less, a mobile hotspot can be used for both camera device and the monitor (laptop or tablet) you are using at the shooting station.
For longer distances the camera device need to have mobile hotspot and the monitor also need to have internet connection. The camera device will communicate with the monitor through a remote server.
Android app
Download the app and install it on your Android phone. Start the camera controller by pressing the button corresponding to the camera you want to use (back or front).
Before starting the camera you need to type a PIN code. The same PIN code should be used in the monitor.
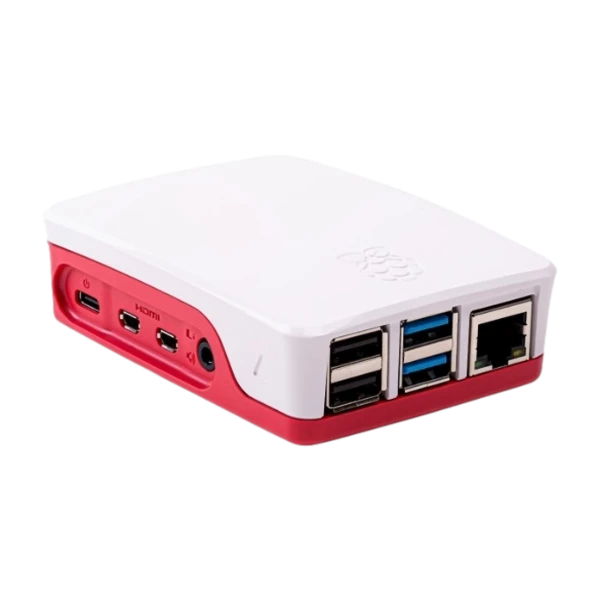
Raspberry Pi
If you choose to use a Raspberry Pi or other linux single-board computer, you should follow these steps after puchase. You can also buy a preinstalled Raspberry Pi from us.
- Connect computer to keyboard, mouse and screen
- Install pip (sudo apt install python3-pip) if not installed
- Run pip3 install requests flask opencv-python python-socketio python-dotenv gunicorn
- Create folder /opt/spotter and put this python script in the folder
- Create a file named .env in /opt/spotter. The file should have a line "pin=1234", where 1234 is your chosen pin code
- Create a systemd configuration file, using this file as a template. Reload systemd with sudo systemctl daemon-reload
- Enable your mobile WiFi hotspot and connect computer to this WiFi
- Connect computer to USB camera and powerbank and you are good to go
Monitor
Go to "Monitor" in the top menu. Type the same PIN code as the camera controller is using.
If you don't have an active camera but want to test the monitor, you can start to demo camera instead.
After starting the camera you will see an image of your target. Press the "Reload" button after shooting your serie. After the new photo is displayed you can click or touch on the bullet holes and a circle with a number will appear as a virtual marker. When the target is changed or the bullet holes are covered, you can clear or the virtual markers by pressing the "Clear" button.